
Tip
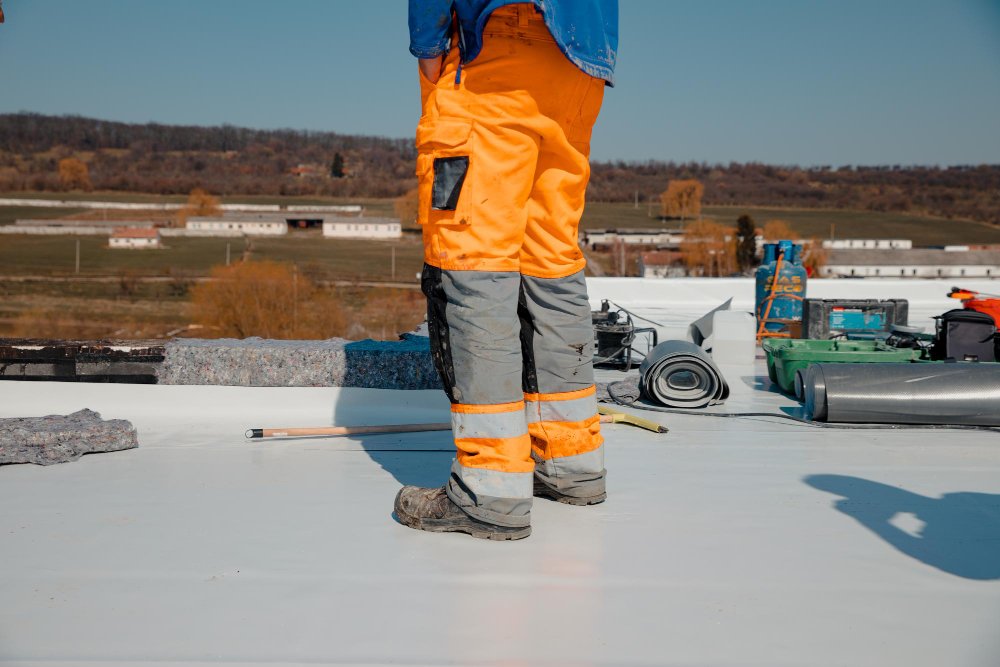
Don’t wait until an emergency leak forces a rushed decision. Planning a roof replacement before major failures occur allows more time to evaluate materials, compare options, and schedule construction with minimal business disruption.
Step 1: Determine Whether Replacement Is the Right Solution
The first step isn’t selecting roofing materials—it’s confirming that replacement is actually necessary. Many commercial roofs can continue performing well after targeted repairs or restoration. Others have reached a point where continued repairs become increasingly expensive and less effective. A professional roof inspection typically evaluates:- The overall condition of the roofing membrane.
- Flashing around rooftop equipment.
- Drainage performance.
- Insulation condition beneath the roof.
- Evidence of recurring leaks.
- The remaining expected service life.
⚠ Warning
Choosing replacement based solely on roof age can lead to unnecessary expenses. Always rely on a comprehensive professional inspection before making a final decision.
Step 1 Checklist
- ✓ Schedule a professional roof inspection.
- ✓ Review previous repair history.
- ✓ Evaluate long-term maintenance costs.
- ✓ Compare restoration versus replacement options.
- ✓ Establish project goals and budget.
Step 2: Plan and Complete the Roof Replacement
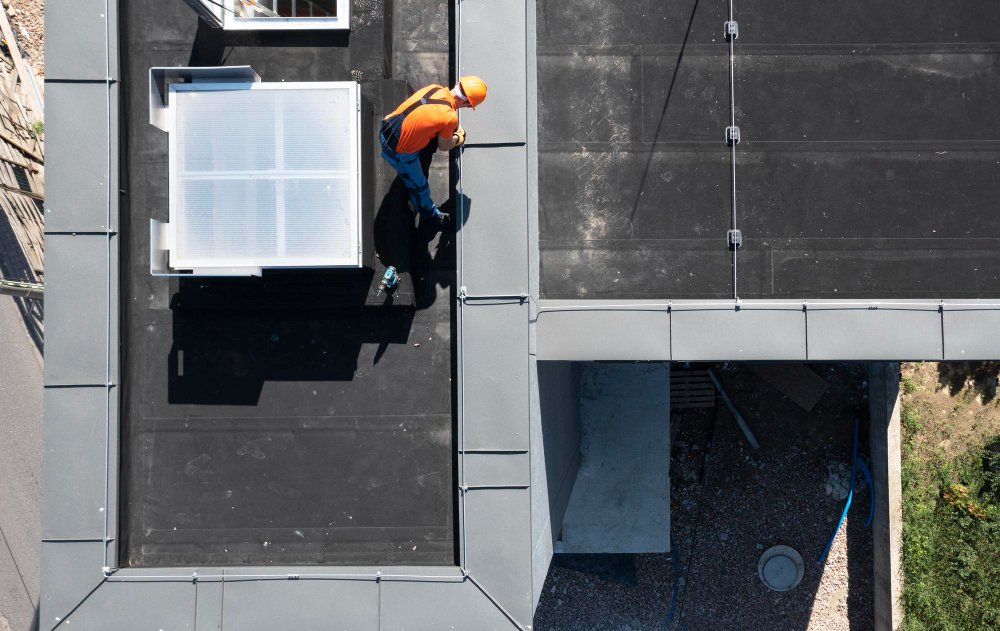
Once replacement has been selected, careful planning becomes essential. Every commercial building has different operational requirements, making preparation just as important as installation itself. Professional planning includes selecting the appropriate roofing system, coordinating project scheduling, evaluating rooftop equipment, confirming drainage design, and minimizing disruptions for building occupants throughout construction. Typical installation activities include:- Removing existing roofing materials where necessary.
- Inspecting and preparing the roof deck.
- Installing insulation and moisture protection.
- Installing the new roofing membrane.
- Completing flashing, penetrations, and drainage details.
- Performing a comprehensive final inspection.
Tip
Ask your roofing contractor for project documentation, warranty information, and maintenance recommendations before construction is complete. These records become valuable references throughout the roof’s service life.
Step 3: Protect Your New Roof for Maximum Lifespan
A successful roof replacement doesn’t end when construction is finished. In fact, one of the most important phases begins after the new roof has been installed. Routine inspections and preventive maintenance help preserve the investment while ensuring the roofing system continues performing as designed. Even the highest-quality roofing materials benefit from regular professional evaluations. Seasonal weather, rooftop equipment servicing, foot traffic, and natural aging all influence long-term roof performance. After installation, property owners should focus on:- Scheduling professional roof inspections twice each year.
- Inspecting the roof after major storms.
- Keeping drains and scuppers free of debris.
- Monitoring flashing around rooftop equipment.
- Addressing minor damage before it spreads.
- Maintaining detailed maintenance records.
⚠ Warning
Don’t assume a new roof is maintenance-free. Even newly installed commercial roofing systems should receive routine inspections to verify drainage performance, flashing integrity, and overall system condition.
Step 3 Checklist
Working with experienced Flat Roofing Experts provides more than a quality installation. It gives property owners access to long-term guidance, preventive maintenance recommendations, and professional support that helps protect the roofing system throughout its service life.
- ✓ Schedule recurring maintenance inspections.
- ✓ Clean drainage systems regularly.
- ✓ Monitor rooftop equipment penetrations.
- ✓ Document all maintenance activities.
- ✓ Repair small issues immediately.